


Does commercial solar need planning permission? How long will it take to install? How often should I clean my panels? Tackle these questions and more with our guide to installing solar
Once you’ve made the decision to have a solar PV system installed on your building and you’ve chosen an installation partner, you’d be forgiven for thinking that the hard part is over. This is just the start. The next step is to manage the installation, and this step is just as important. If not managed effectively, it can expose you to all sorts of risks and delays and leave you with a poor foundation from which to manage the long-term performance of your system.
This article will answer some of the key questions businesses typically ask when going through the process of installing solar.
1. The Contract 📃
The first step with any construction project (and a commercial solar PV installation should certainly be considered a construction project) is to make sure you have the correct contract in place. This contract should clearly set out the expectations and obligations of both parties, especially with regard to the specifications and quality of the work. With a solar project, it is not only important that the system is installed correctly, but that it produces what you expected it to produce (after all, the expected production was the basis of your financial decision to install the system).
As a minimum, make sure your installer provides you with their standard terms and conditions – effectively a short-form contract – which should include some provisions for the budget, timeline and warranty.
At Two Blues Solar, we prefer to use a much more comprehensive contract format, the JCT Minor Works Building Contract. JCT (Joint Contracts Tribunal) Contracts are a standard form contract that are used throughout the building industry, ensuring ease of use and consistency in many aspects. We have specific amendments and provisions to the contract that include (among other items) a detailed design scope, comprehensive testing and a milestone-based payment schedule. All of this works to ensure that the system that is delivered is exactly what we expected.
2. Pre-Construction 📝
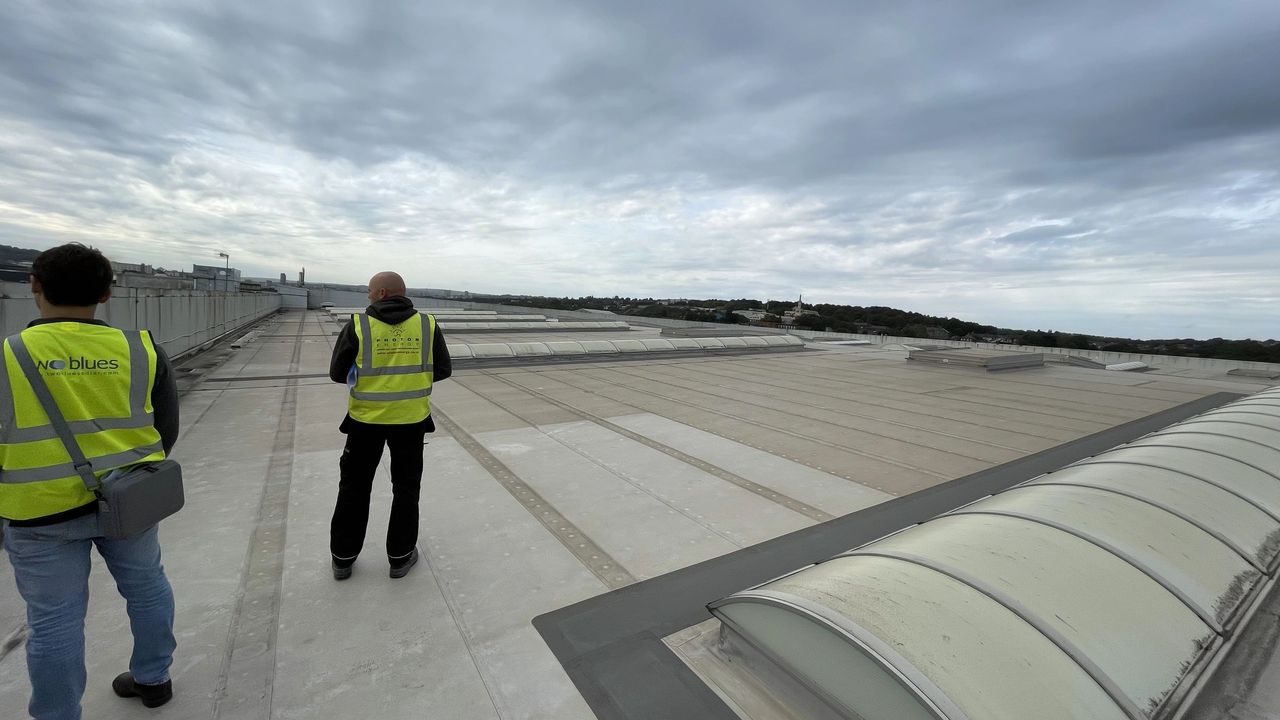
Given the challenges with grid connections and planning regulations in the UK, it is essential to manage the progress and risk of the pre-construction phase closely. At Two Blues Solar, we place a lot of emphasis on making the application to your local Distribution Network Operator (DNO) (in most circumstances called a G99 application) as early as possible to make sure that any unexpected pushback from the DNO is dealt with at an early stage. In order to do this, your chosen installer needs to have visited site, identified how the system will connect to your electrical infrastructure and inspected the roof.
From here, a basic amount of electrical design is required in order to make the G99 application. It is key that you as the client understand the system size that has been applied for and that you have a copy of the G99 submission for future reference (especially if you choose to change contractor at a later date). Once the DNO offer is received (typically a 3-4 month process), all other aspects can be finalized, including detailed design.
Some other points to consider:
- Ensure the proposed system design complies with your insurer’s solar PV provisions (if in doubt, ask)
- Ensure the proposed design complies with your roof warranty
- If your system is over 1.0 MWp (or 50 kWp in Scotland) or a ground-mount system, you will need to apply for full planning permission, so allow additional time for this.
- The condition of your roof is a key consideration, so if you are not certain about the remaining longevity in your roof then ask your installer to arrange a 3rd-party condition survey.
3. Construction 👷
Once you have a valid DNO connection offer, planning permission (or permitted development rights), detailed system design and an agreed construction contract, you are ready to go!
Before signing the contract, ensure that you have agreed a detailed programme of works (including provisions for what will happen if the programme is missed). You should expect the installers to be on your site for around 2-3 weeks depending on the size of your rooftop system (or longer if it’s a ground mount).
The programme of works should act as the pre-agreed payment dates for achieving each piece of work (payment upon delivery of equipment, payment upon completion of rooftop installation, payment upon successful commissioning etc.) – don’t try to ‘value’ any work as it is done, this will be hugely time-consuming for very little gain, especially as you will be paying in arrears.
Some other points to consider:
- Ensure that your installer has adequate Contractor All-Risk insurance coverage for the period of the installation and that this is in place before delivery of any equipment.
- Security on site should be constant whilst any equipment is stored outside of the building.
- If your installer is proposing to use any subcontractors, ensure that you understand their role and that they are complying with your health & safety policies.
- Using an independent 3rd party Contract Administrator can be a good way to ensure that the project is monitored correctly and that any contentions are dealt with in line with the contract.
- Get clarity on any downtime that will be required from your business as part of the installation process. For an average rooftop system, this should be limited to about half a day and can often be arranged during non-operational hours.
4. Testing, Warranties and Ongoing Monitoring 📊
Your system is ready, it’s on the roof and producing energy! But is it working correctly and how do you keep it optimised and maintained?
Firstly, your construction contract should include comprehensive testing provisions. Ideally this would be 7 days of testing, where the system is shown to be functioning in line with the initial projections, with weather-corrected performance (i.e. using light sensors installed on the roof in the plane(s) of array of the solar PV system). Testing should be repeated after one year to check that production hasn’t degraded further than expected.
Along with a guarantee of good quality workmanship, the warranty that you receive from your installer should provide some element of performance guarantee. Ideally this will be for 99%-100% of the expected performance of the system, allowing for some ‘down-time’ to fix any issues.
If your installation contractor also has operations and maintenance (O&M) capacity, you may choose to enter into an O&M agreement with them (or another contractor). This agreement should contain, at the very least, an obligation on the contractor to monitor the system daily, respond quickly to faults (reactive maintenance) and perform annual check-ups on the system (preventative maintenance). For an average system of 250-500kWp you should budget around £10K per year to keep your system well-maintained. Solar panels will be on your roof for 25+ years so it’s important you look after them well.
And finally, you want to know what has been installed and how much energy it is producing! A comprehensive owner’s manual should be provided, along with instructions (and a demonstration) of how to see the performance of the system. Usually this will involve logging into a portal provided by the inverter manufacturer. This is one of the best parts of owning a solar PV system – some of Two Blues Solar’s clients show this on a tv screen in the building lobby to make sure employees and visitors can see the green energy that is being produced on the roof above them!
Two Blues Solar offers a fully-funded and managed solar solution for commercial and industrial clients. If you’re interested in our capex-free model, please get in touch: info@twobluessolar.com